Create and send an
email campaign
You will learn:
Learn about how to create and send an email campaign using Kasplo.
Before you begin
Before you start sending, do the following things:
- Create a list or segment of engaged subscribers.
- Craft a stunning email template.
Step 1: Build a new email campaign
- To create an email campaign, go to Dashboard > Campaigns > Send Campaigns, then click on “Create Campaign” in the top right corner.
2.You’ll see two options: Regular and A/B Testing. Choose Regular to build a normal campaign, or A/B Testing to test different campaign variations.

3.Click “CREATE” for a Regular campaign.
4.To build an A/B testing campaign, refer to the help article.
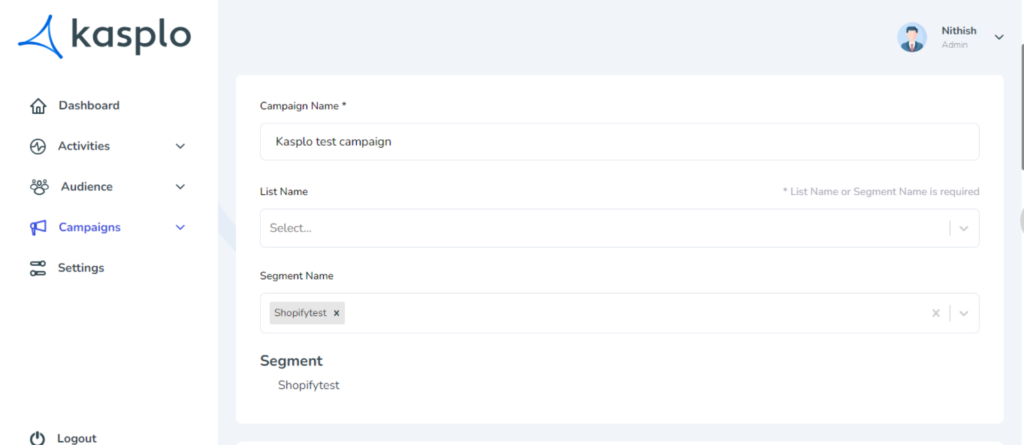
Step 2: Choose the campaign name and recipients
After clicking “CREATE” under Regular, you’ll be redirected to the “Create Campaign” page where you can build new campaigns. Follow these steps to create one:
- Campaign Name: Name your campaign.
- List Name: Select the list you want to target.
- Segment Name: Select the segment you want to target.
(Note: You must select a segment or list to send a campaign.)
4.After selecting the “List”, and “Segment,” you can see the number of unique recipients your campaign is targeting.
5.Add a tag for your campaign under “Tags” to easily segment and organize your campaigns.
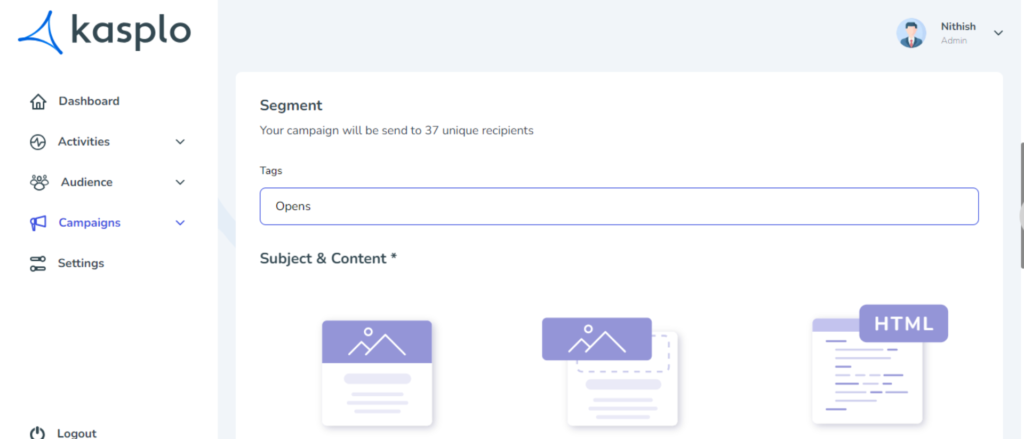
Step 3: Create or select a pre-built email content
Under “Subject & Content,” you’ll see three options: Templates, Drag and Drop Editor, and HTML Editor.
- Templates: Select a pre-built template from the available list.
- Drag and Drop Editor: Create an email from scratch by dragging and dropping elements. (Note: You can also build an AMP email template using the elements marked.⚡)
- HTML Editor: Design an email template from scratch using HTML or paste your code to create it. (Note: Use the AMP Editor in the top right corner to build an AMP email template in this editor.)
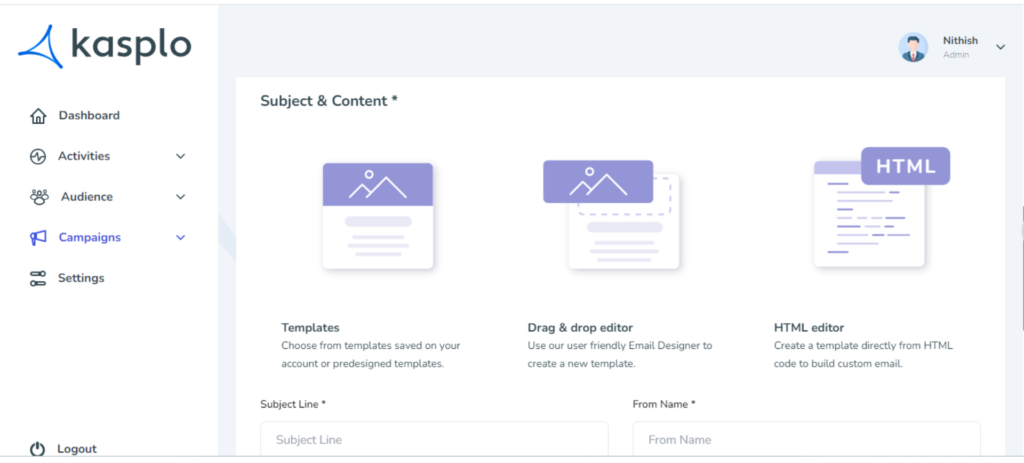
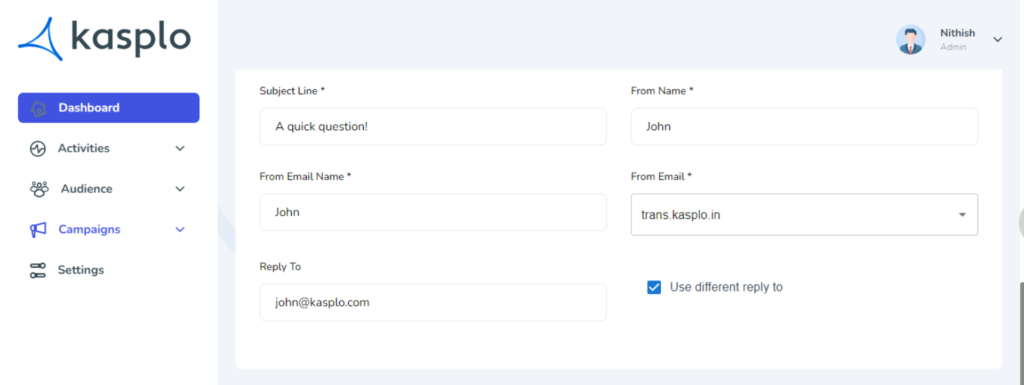
Step 4: Create the subject line and From address
During the Email Campaign settings setup, you can customize how your email appears in your contacts’ inboxes:
- Subject Line: The introduction your contacts will see before opening the email.
- From Name: The sender name you want your email to be delivered with.
- From Email Name: The name is displayed when the email is opened.
- From Email: The email address your recipients will see in the FROM field. Ensure it looks professional and represents your business, e.g., marketing@kasplo.com or sales@kasplo.com.
- Reply To: Add a different reply-to email address if you want responses to go to a different inbox. Toggle “Use different reply to” and enter the email address to activate.
6.Seed List: A logic that sends a copy of the campaign to a specific list provided by the admin for reference.
Step 5: Send or Schedule the campaign
Before sending or scheduling your campaign, double-check all details.
Send: Launch the campaign immediately.
Schedule: Set a specific time for the campaign to start, adjusted to your chosen time zone.
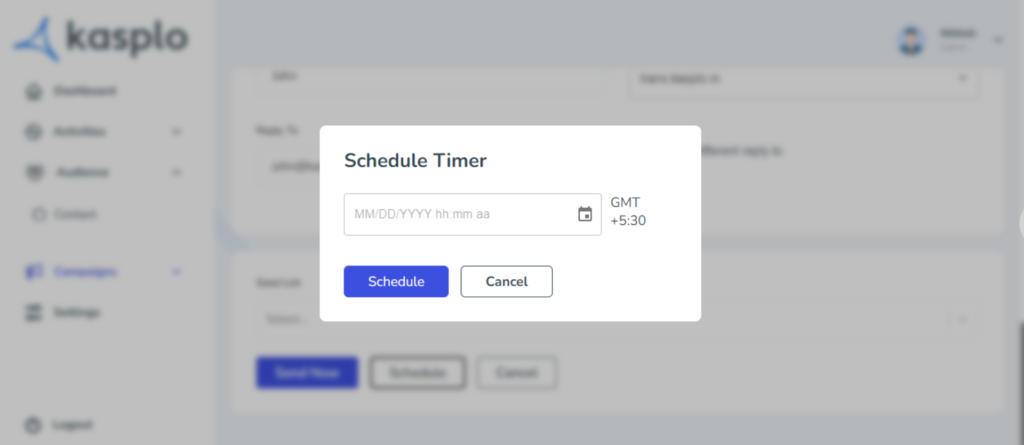
Cancel: Click “Cancel” to discard the campaign without saving.
Step 6: Manage campaigns
To access the created campaign, go to Dashboard > Campaigns > Send Campaigns. There, you’ll find a list of your previously created campaigns
- Search for campaigns or use filters under “All.” Toggle the AMP option to filter AMP campaigns.
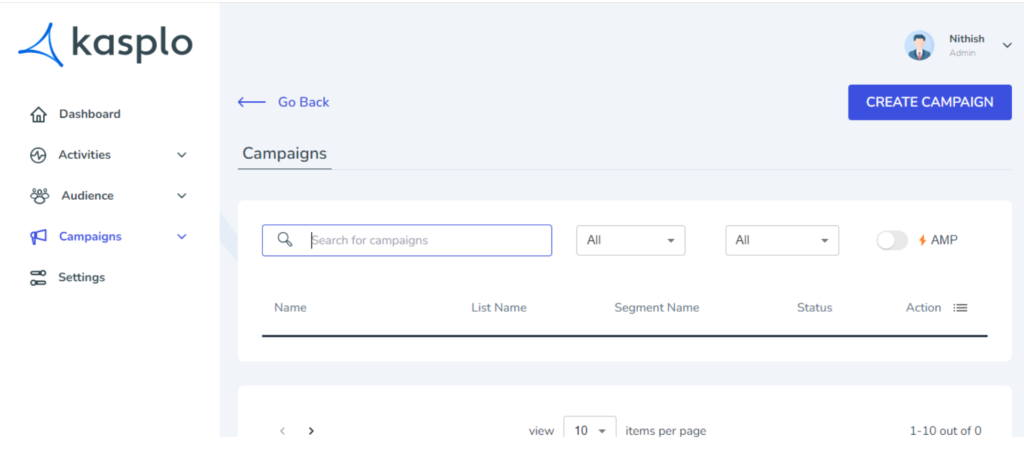
You can pause and delete the scheduled campaign.
- How to Import reviews using Kasplo Reviews?
- How to collect product reviews using Kasplo Reviews?
- How to change the look and feel of your review widget?
- How to collect picture reviews using Kasplo Reviews?