Create A/B test campaigns
You will learn:
Learn how to set up and run an A/B test for a campaign. You can identify which content yields the best results. This enables you to refine your campaigns, increase engagement, and improve the effectiveness of your email campaigns.
How it works
In A/B testing you can create multiple versions of your campaign with different content or elements such as subject lines, from email addresses, from names, reply-to emails, and email templates.
Send these variations to a randomly selected subset of your audience. Compare performance metrics like open rates and conversions to identify the most effective version.
Step 1: Creating A/B Test Campaign
- From Dashboard > Campaigns > Send Campaigns, then click on Create Campaign in the top right corner.
2.You’ll see two options: Regular and A/B Testing. Choose Regular to build a normal campaign, or A/B Testing to test different campaign variations.

3. Click on the “CREATE” button of the A/B test option.
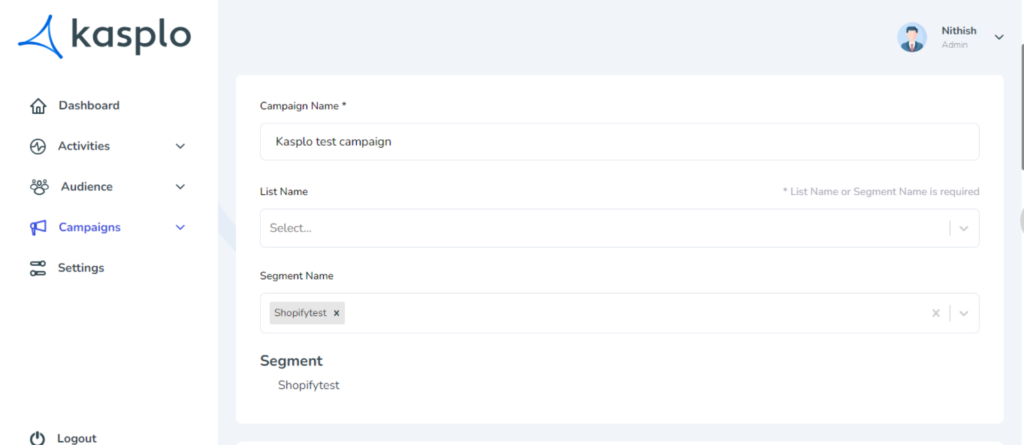
Step 2: Choose the campaign name and recipients
You’ll be redirected to the “Create Campaign” page where you can build and test A/B campaigns. Follow these steps to create one:
- Campaign Name: Name your campaign.
- List Name: Select the list you want to target.
- Segment Name: Select the segment you want to target.
- Note: > You must select a segment or list to send a campaign.
> From the selected list or segment, the contacts for the A/B test will be distributed evenly among the versions, with the following split details:
A & B – 5% each
A, B & C – 4% each
A, B, C & D – 3% each
A, B, C, D & E – 2% each
Step 3: Create multiple versions
Create multiple versions of your campaign with different subject lines and content to analyze the best-performing elements. Follow these steps:
- Add as many versions as you want to test (You can add up to 5 versions from A to E).
- Subject Line: The introduction your contacts will see before opening the email. (Use a different subject line for each version).
- From Name: The sender name you want your email to be delivered with.
- From Email Name: The name is displayed when the email is opened.
- From Email: The email address your recipients will see in the FROM field. Ensure it looks professional and represents your business, e.g., marketing@kasplo.com or sales@kasplo.com.
- Reply To: Add a different reply-to email address if you want responses to go to a different inbox.
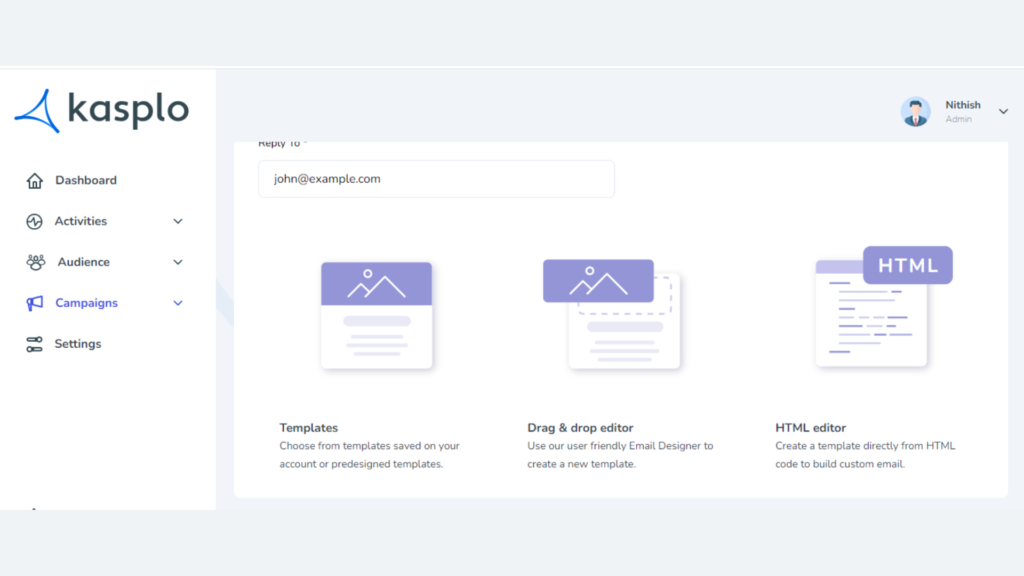
Step 4: Create or select a pre-built email content
From three options: Templates, Drag & Drop Editor, and HTML Editor. Choose different content for each version.
- Templates: Select a pre-built template from the available list.
- Drag and Drop Editor: Create an email from scratch by dragging and dropping elements. (Note: You can also build an AMP email template using the widgets marked .⚡)
- HTML Editor: Design an email template from scratch using HTML or paste your code to create it. (Note: Use the AMP Editor in the top right corner to build an AMP email template in this editor.)
Step 5: Choose the condition & Seed list
Condition: Choose how the winning campaign should be determined from the “How should the winner be chosen?” options. For example, “After 20 hours, the system will check which version has the highest number of clicks.”
Seed List: A logic that sends a copy of the campaign to a specific list provided by the admin for reference.
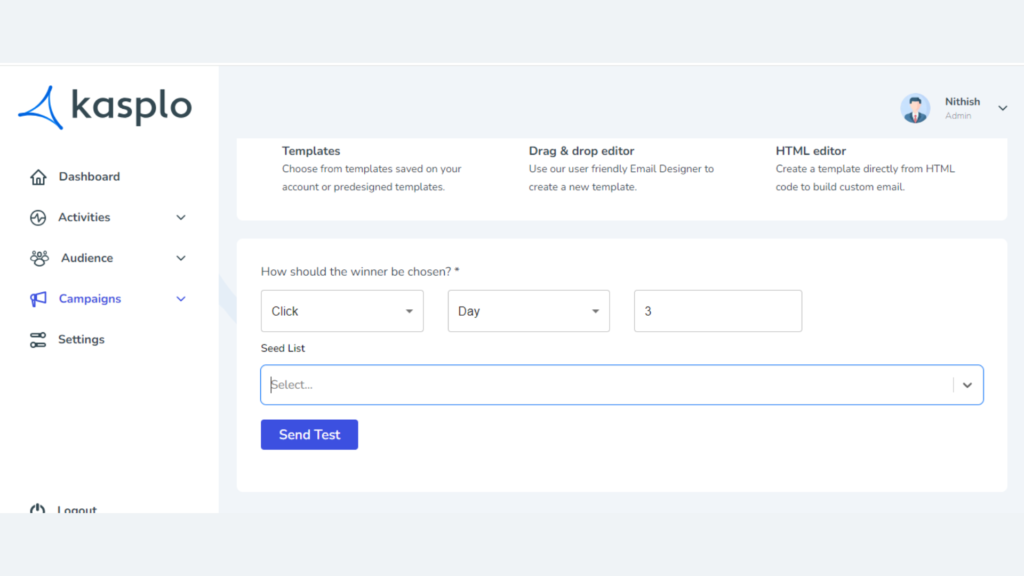
Review the campaign thoroughly, then click “Send Test.”
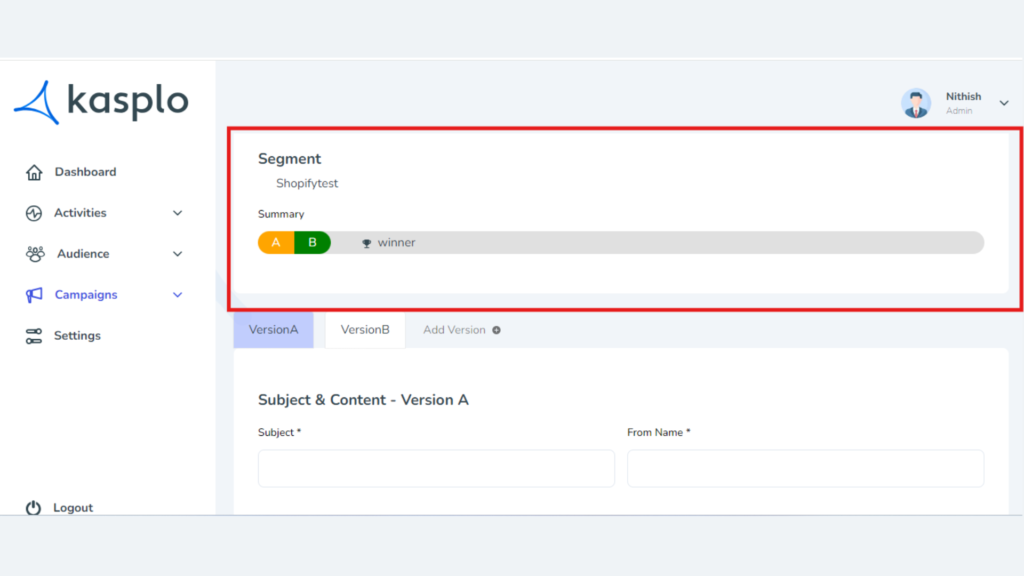
Step 6: Winner selection
- The variation that achieves the highest result based on your specified condition will be selected as the winner and can be sent to the rest of your subscribers.
- Once a winner is chosen, its name will appear in the A/B test settings.
- How to Import reviews using Kasplo Reviews?
- How to collect product reviews using Kasplo Reviews?
- How to change the look and feel of your review widget?
- How to collect picture reviews using Kasplo Reviews?